Showing posts with label 4th of July crafts. Show all posts

Monday, July 3, 2017

Make something Monday: 4th of July Fireworks

It has been crazy town USA at the wood house the last week, y'all! Immediately following our trip to Wyoming for the weekend, my mister left us to get trained for his new position in New Mexico. 5 wild days alone with these crazies...
I am not gonna lie, we sure had fun, but we were glad when daddy came home!
Now that this week is a little more normal, we have been getting in our groove a little... 
We actually squeezed in a little craftiness! Hurray, for make something Monday!
This week we did 4th of July Firework salt paintings! 

You need:
Dark construction paper
Elmer's glue--Use the good kind, I'll explain why in a minute
Salt
Glitter (optional, but fun)
Table salt
Paint

First design some fireworks...
Here's why you need the good glue... Because stuff actually sticks to it! Callie used Elmer's and hers came out perfectly. Kellen was a titch impatient and used the dollar store glue and his salt didn't stick and when he painted it most of the salt fell off. Sad times.

Next, while the glue is still wet (duh) sprinkle on the salt and glitter. We did a combination of both
Then shake of the excess in the trash.
Once the glue has dried a little you can paint the salt! Again, my fella, was a little impatient and started painting when it was still wet and his salt continued to flake off...
But he's 3 and doesn't seem to care too much, so it was fine!

Here is the finished product!
They came out SO cute and we are ready for a happy 4th of July!


Monday, June 27, 2016

Make Something Monday: 4th of July!

Almost half way through the summer! Wow it's going by so fast. This weekend was just marvelous and Today was another adventure with Callie, we were out all day and when we got home we had to make something quick!

I have NEVER decorated for the 4th of July and this year I thought, why not?
So ta-da!
Oh my word! This was THE hardest wreath I have ever made. EVER! I don't know why I struggled so bad with this! I used this festive patriotic burlap and it was so long and it kept shredding apart when I tried to weave it through the wire. I must have watched the video like 10 times and restarted like 8 times and it came out hot mess express. So I went back in and wove another piece of burlap through to cover the places where the wire was showing!

You need: scissors, burlap (sidebar, do not get this kind of burlap!) and a wire wreath form


I used this kind of form and here is the link that I used to help me make it! It was seriously so helpful!

You just weave it through and fluff it up and then twist it and start weaving through again. I mean it, watch the video, I cannot explain it correctly and I was so frustrated that I didn't stop and take pictures!

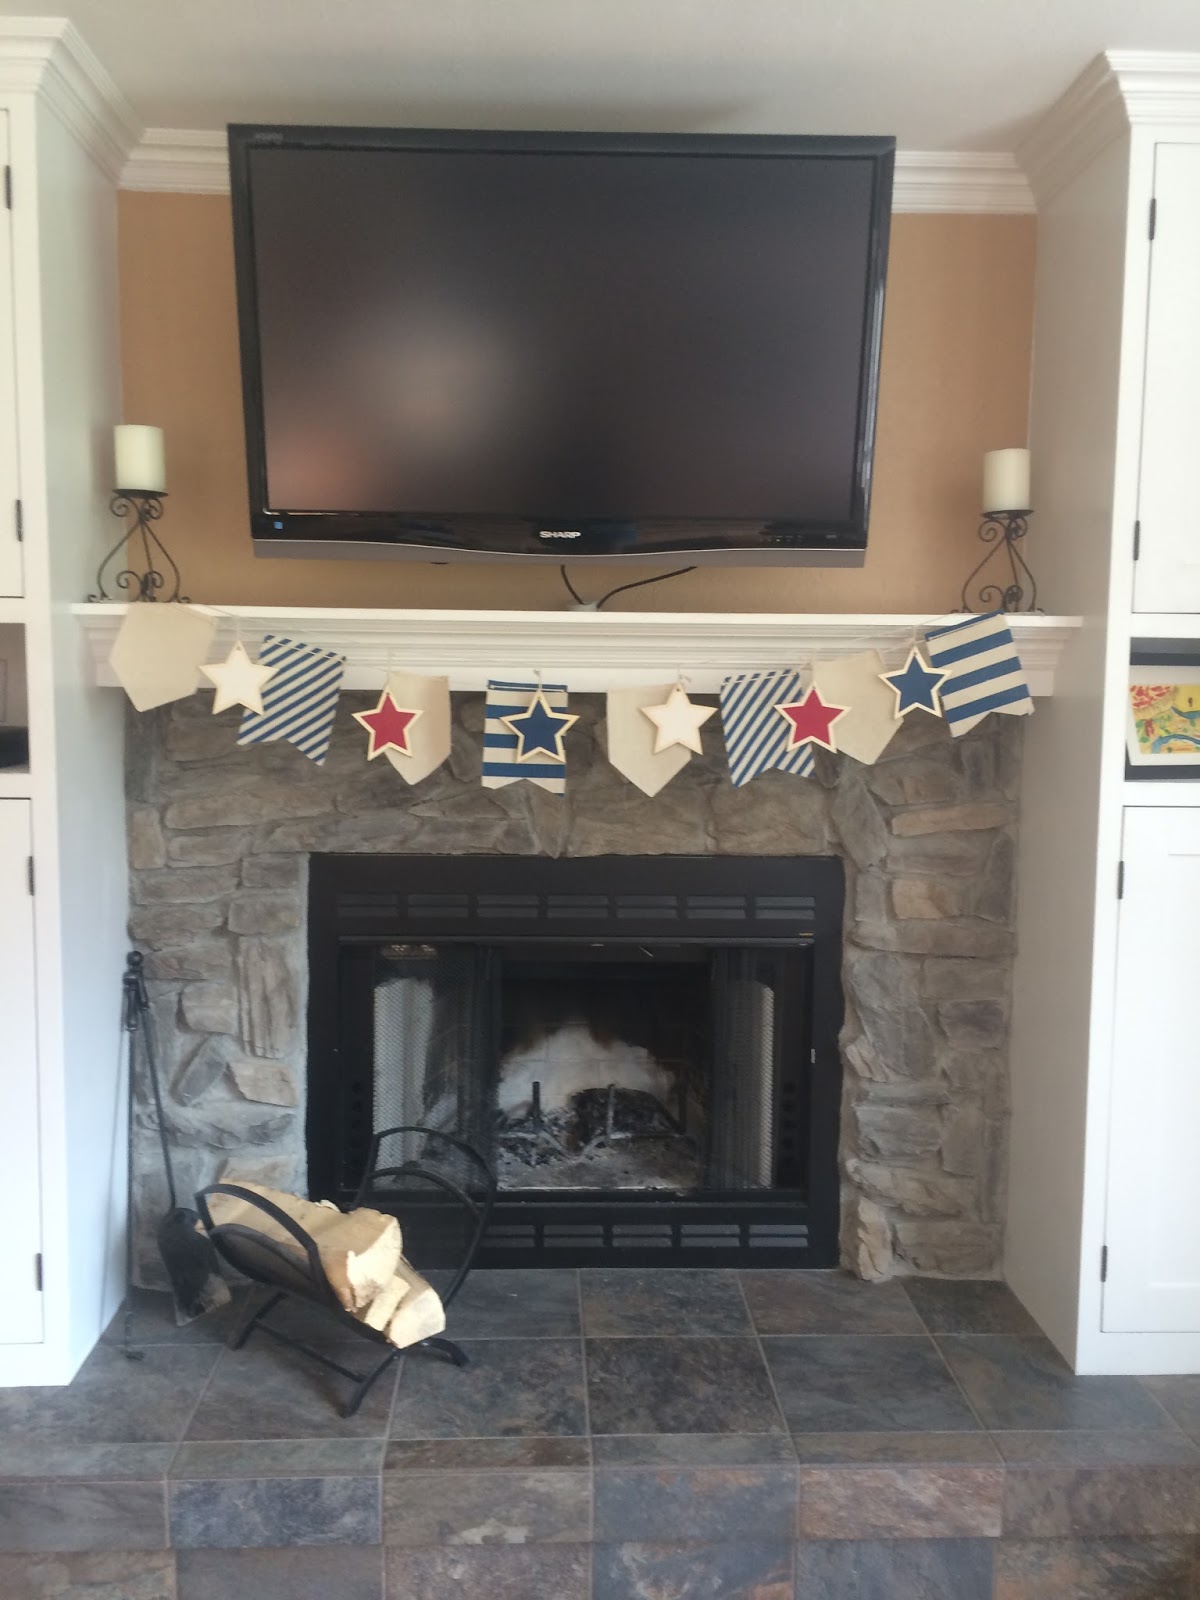
I also found some super cute bunting at Target in the dollar spot a few weeks ago and Callie and I hung it on the mantel to jazz it up a little and it came out great!
I can't wait for the 4th and family time and Brien and I's 7 anniversary meet you day! Happy 4th, y'all!!


Monday, June 23, 2014

VBS and make something Monday


 Things have calmed down greatly, thank goodness. VBS went off without a hitch and now it's over and I don't have to drive to Denver 4 times a day and I have my life back a little. It was a blast and I will definitely do it next year but I am thankful that it's done for now!
All of these crazy children had a blast!

Tag with flippers = winning

The decorations this year were AH-mazing!

These girls are precious!
So onto make something Monday! For Callie's craft she wanted to make a t-shirt. It was so super easy and the only thing that we actually needed to buy was a plain white t-shirt. Here are the materials: Fine sandpaper, crayons, a piece of cardboard, paper towel, a t-shirt and an iron.

1. Color your designs on the sandpaper. Make sure that it is super dark and the color is heavy and thick.
2. Heat the iron to the cotton setting. Make sure that you don't use steam! Then put the sandpaper drawing side down on the t-shirt where you want the pattern to go.
Put a piece of cardboard between the front and back of the shirt so that the wax doesn't leak through to the back of the shirt. Then use a sheet of paper towel and press the iron down on the picture.
3. Leave the iron in one place allowing the crayons to melt into the fabric of the shirt. Then pick up the iron and press to the next section of the sandpaper. I had to move Callie's like 3 times to make sure the crayon transferred. I let the iron do it's think for about a minute and then I carefully peaked under a corner to make sure that it transferred. 

4. Next, turn the shirt inside out and throw it in the dryer on high for about 10 minutes to really set in the crayon. 

It came out super cute!

A new PJ shirt, sign me up!

I have washed and dried it already and it still in perfect shape!


For my grown up craft, I finally put some old fence to good use. I saw this pin on my sister in law's board and I totally stole it. My mother in law supplied the fence and even made sure that it had 13 pickets for the stripes.
It was pretty easy to make. I totally forgot to take pictures along the way, this was a nap time craft and I was in a hurry!
All I did was squirt red, white and blue paint on paper plates. 
Then I filled up a bucket of water. 
I did the blue first and made a square, I splotched blobs of the paint in my square with an old crusty paint brush. Then I used my water to make a wash and fade out the color for a rustic look. 
Then I started on the red splotching blobs and blending it in with water. Last I did the white stripes.
The stars were a little tricky and up close they are not very pretty or starry looking up. I used a stencil and smaller paint brush, but the pickets are slightly curved so the stars came out a little blobby.
I am happy with the overall project, but it is HUGE! I am not sure where to put it, yet. My sister in law said it looks just fine where it is. Who knows where it will end up!